How to Verify Smart Contracts with Hardhat Deploy plugin
** Refer to this repository for project setup. **
Hardhat is a development environment to compile, deploy, test, and debug smart contracts for EVM compatible blockchains.
This tutorial will cover how to use the hardhat-deploy plugin and verify deployed contracts on the Telos explorer on mainnet.
- Setup Hardhat project with the Hardhat-deploy plug-in
- Deploy contracts using the plug-in
- Verify the contracts on sourcify
Setup Local Environment
The first step is to set up the local environment. If you are not familiar with how to set up a local hardhat project, refer to this page.
- Add a deploy folder in the primary directory
Insert the following code block into the deploy folder under filename - deploy.js
module.exports = async ({ getNamedAccounts, deployments }) => {
  const { deploy } = deployments;
  const { deployer } = await getNamedAccounts();
  await deploy("Greeter", {
    from: deployer,
    args: ["Hello"],
    log: true,
  });
};
- Add a blank deployment folder in root directory. The JSON ABI and byte will be pasted here automatically when a deploy command is executed.
Installations
Package Checklist
** Make sure these packages are included in your package.json list before running a deploy command.**
- @nomiclabs/hardhat-ethers
- @nomiclabs/hardhat-waffle
- chai
- ethereum-waffle
- ethers
- hardhat
- @openzeppelin/contracts
- dotenv
Run npm install <package_name> if any of the above packages are missing.
Hardhat Plug-in
npm install -D hardhat-deploy
Import the plug-in in your hardhat.config.js file
require("hardhat-deploy");
When taking into account that Hardhat-deploy-ethers is a fork of @nomiclabs/hardhat-ethers, and other plug-ins may have have an hardcoded dependency on @nomiclabs/hardhat-ethers, the best method to install hardhat-deploy-ethers and ensure compatibility is the following:
npm install --save-dev @nomiclabs/hardhat-ethers@npm:hardhat-deploy-ethers ethers
Remember to add: require("@nomiclabs/hardhat-ethers"); at the top of your hardhat.config.js file.
Deploy
The following is what the Hardhat config file should like:
require("@nomiclabs/hardhat-waffle");
require("dotenv").config({ path: ".env" });
require("hardhat-deploy");
require("@nomiclabs/hardhat-ethers");

module.exports = {
  solidity: "0.8.1",
  defaultNetwork: "telos_testnet",
  namedAccounts: {
    deployer: 0,
  },
  networks: {
    telos_testnet: {
      url: "https://testnet.telos.net/evm",
      accounts: [process.env.TELOS_TESTNET_PRIVATE_KEY],
      chainId: 41,
    },
  },
};
Run Deploy command
npx hardhat --network telos_testnet deploy
Output
deploying "Greeter" (tx: 0xc800f2bfa3ef75768045d885210a8dfc4148ba2f9838f27113d40db7d26e0024)...: deployed at 0x5C94BA8feC1a9FedE0a1Fdd55f2a860Ad97467ce with 496906 gas
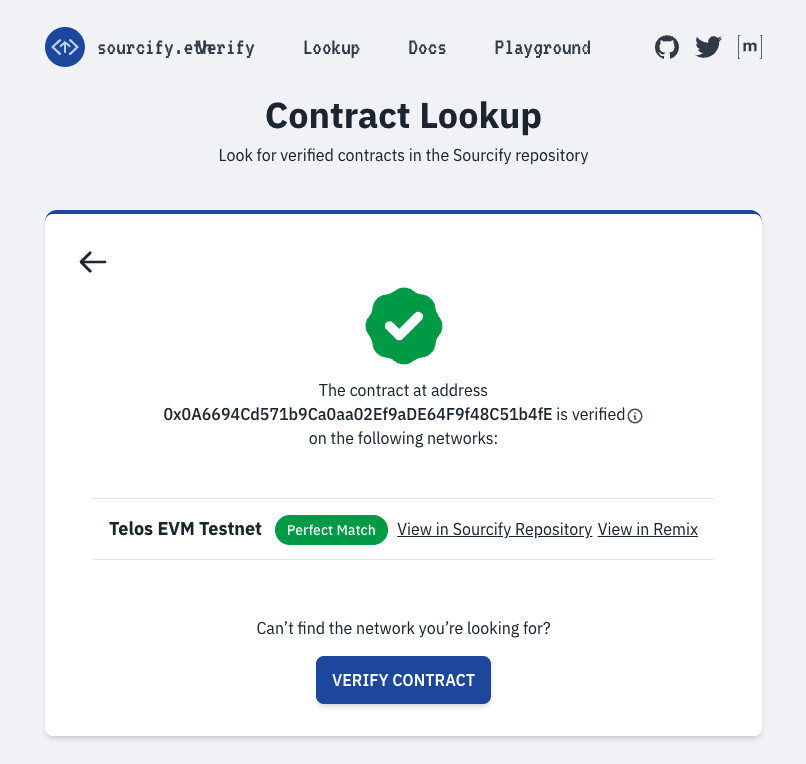
Verify
You can easily verify smart contracts with the hardhat deploy sourcify command from the plugin.
npx hardhat --network telos_testnet sourcify
Console output should result in contract printed and green verification text printed.
Following these steps will enable you to successfully verify the contract.